Java. Installing the Development Environment and Eclipse IDE

I decided to learn Java and, while I’m at it, write a series of articles called “Java. Let’s Learn Together!"—perhaps someone will find them useful. I’m learning this wonderful language from books my girlfriend gave me for Valentine’s Day.
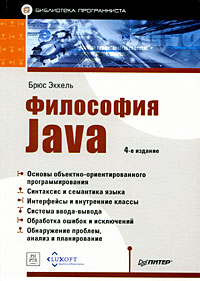
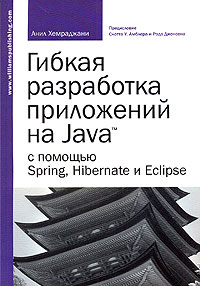
I’m not going to reproduce these books; as the need arises, I’ll cover certain aspects of the language and development environments.
So, let’s get started! We’ll need the JDK and the Eclipse development environment.
Installing the JDK
The Java Development Kit, abbreviated JDK, is a Java application development kit distributed free of charge by Sun. It includes the Java compiler (javac), standard Java class libraries, examples, documentation, various utilities, and the Java Runtime Environment (JRE). The JDK does not include an integrated development environment for Java (IDE), so a developer using only the JDK has to use an external text editor and compile programs using command-line utilities. http://ru.wikipedia.org/wiki/JDK
Download the JDK and install it. I downloaded the “JDK 6 Update 13 with Java EE” distribution.
Let’s add the path to the development environment’s executables to the PATH system variable, unless you told the installer to add it for you. My path is:
C:\Program Files\Sun\SDK\jdk\bin
After installation, we have the javac.exe utility for compiling our program and java.exe for running the compiled program.
#> javac JavaTest.class
#> java JavaTest.java
Installing Eclipse IDE
I already had the Eclipse PDT2 package installed for working with PHP, along with Spket for working with JavaScript. I added the Java Development set of plugins through Help -> Software Updates… -> Available Software.

Then I restarted Eclipse and selected the Java perspective. Next, I chose New -> Java Project and filled in all the required fields. In the newly created project, I clicked “src”, created a class (New -> Class), and filled in the required fields.

That’s it, we’re all set—let’s start creating our first program!
Comments are closed. Read the original discussion in Russian →